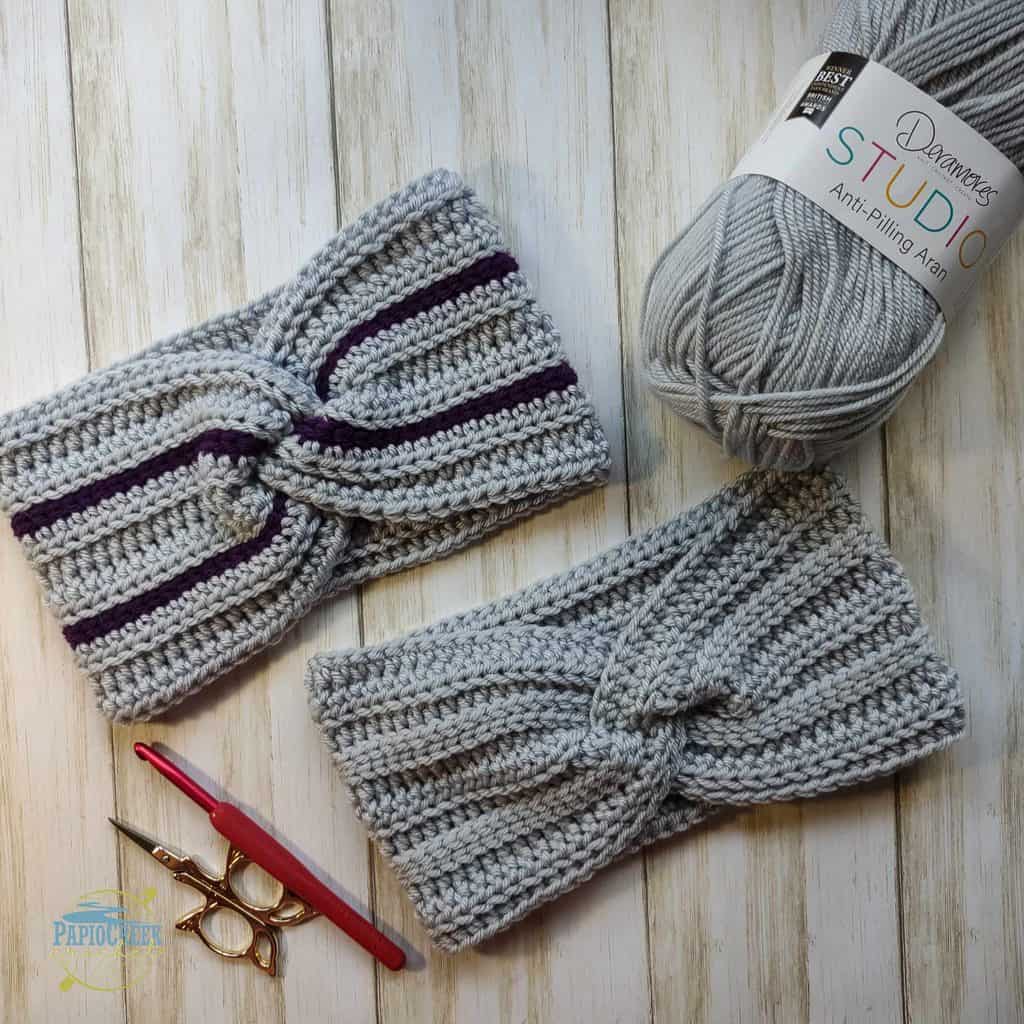
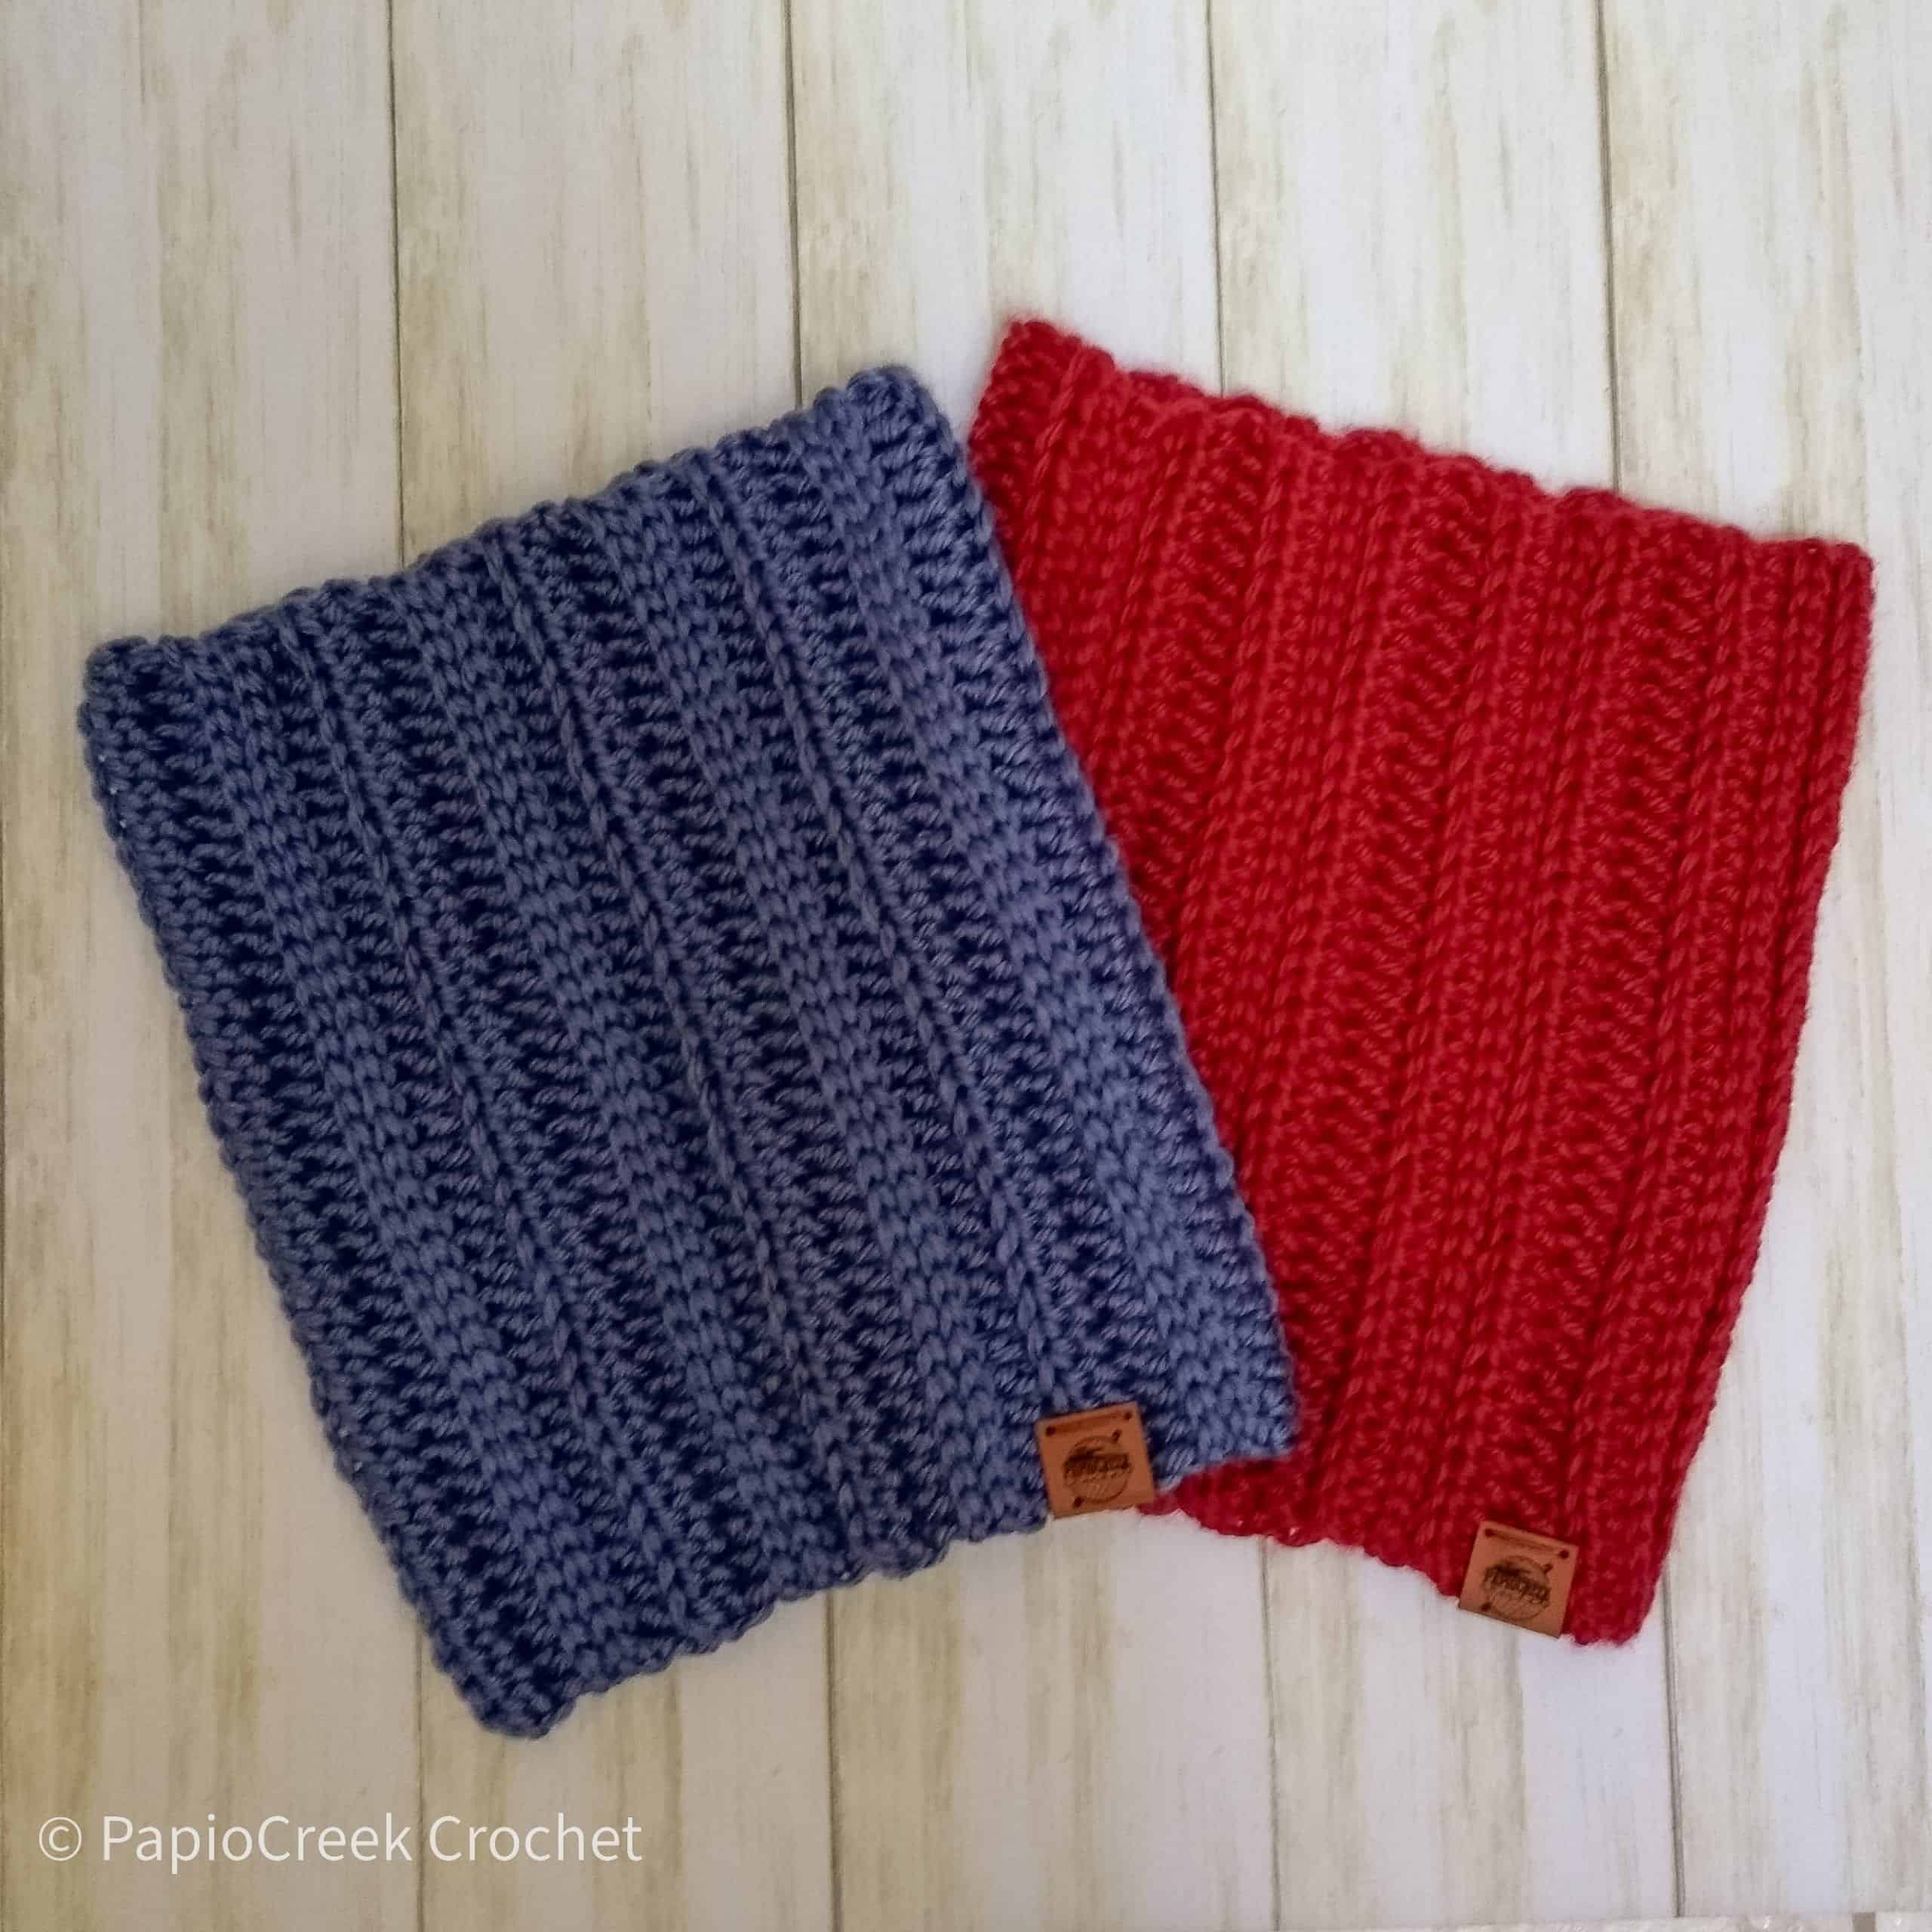
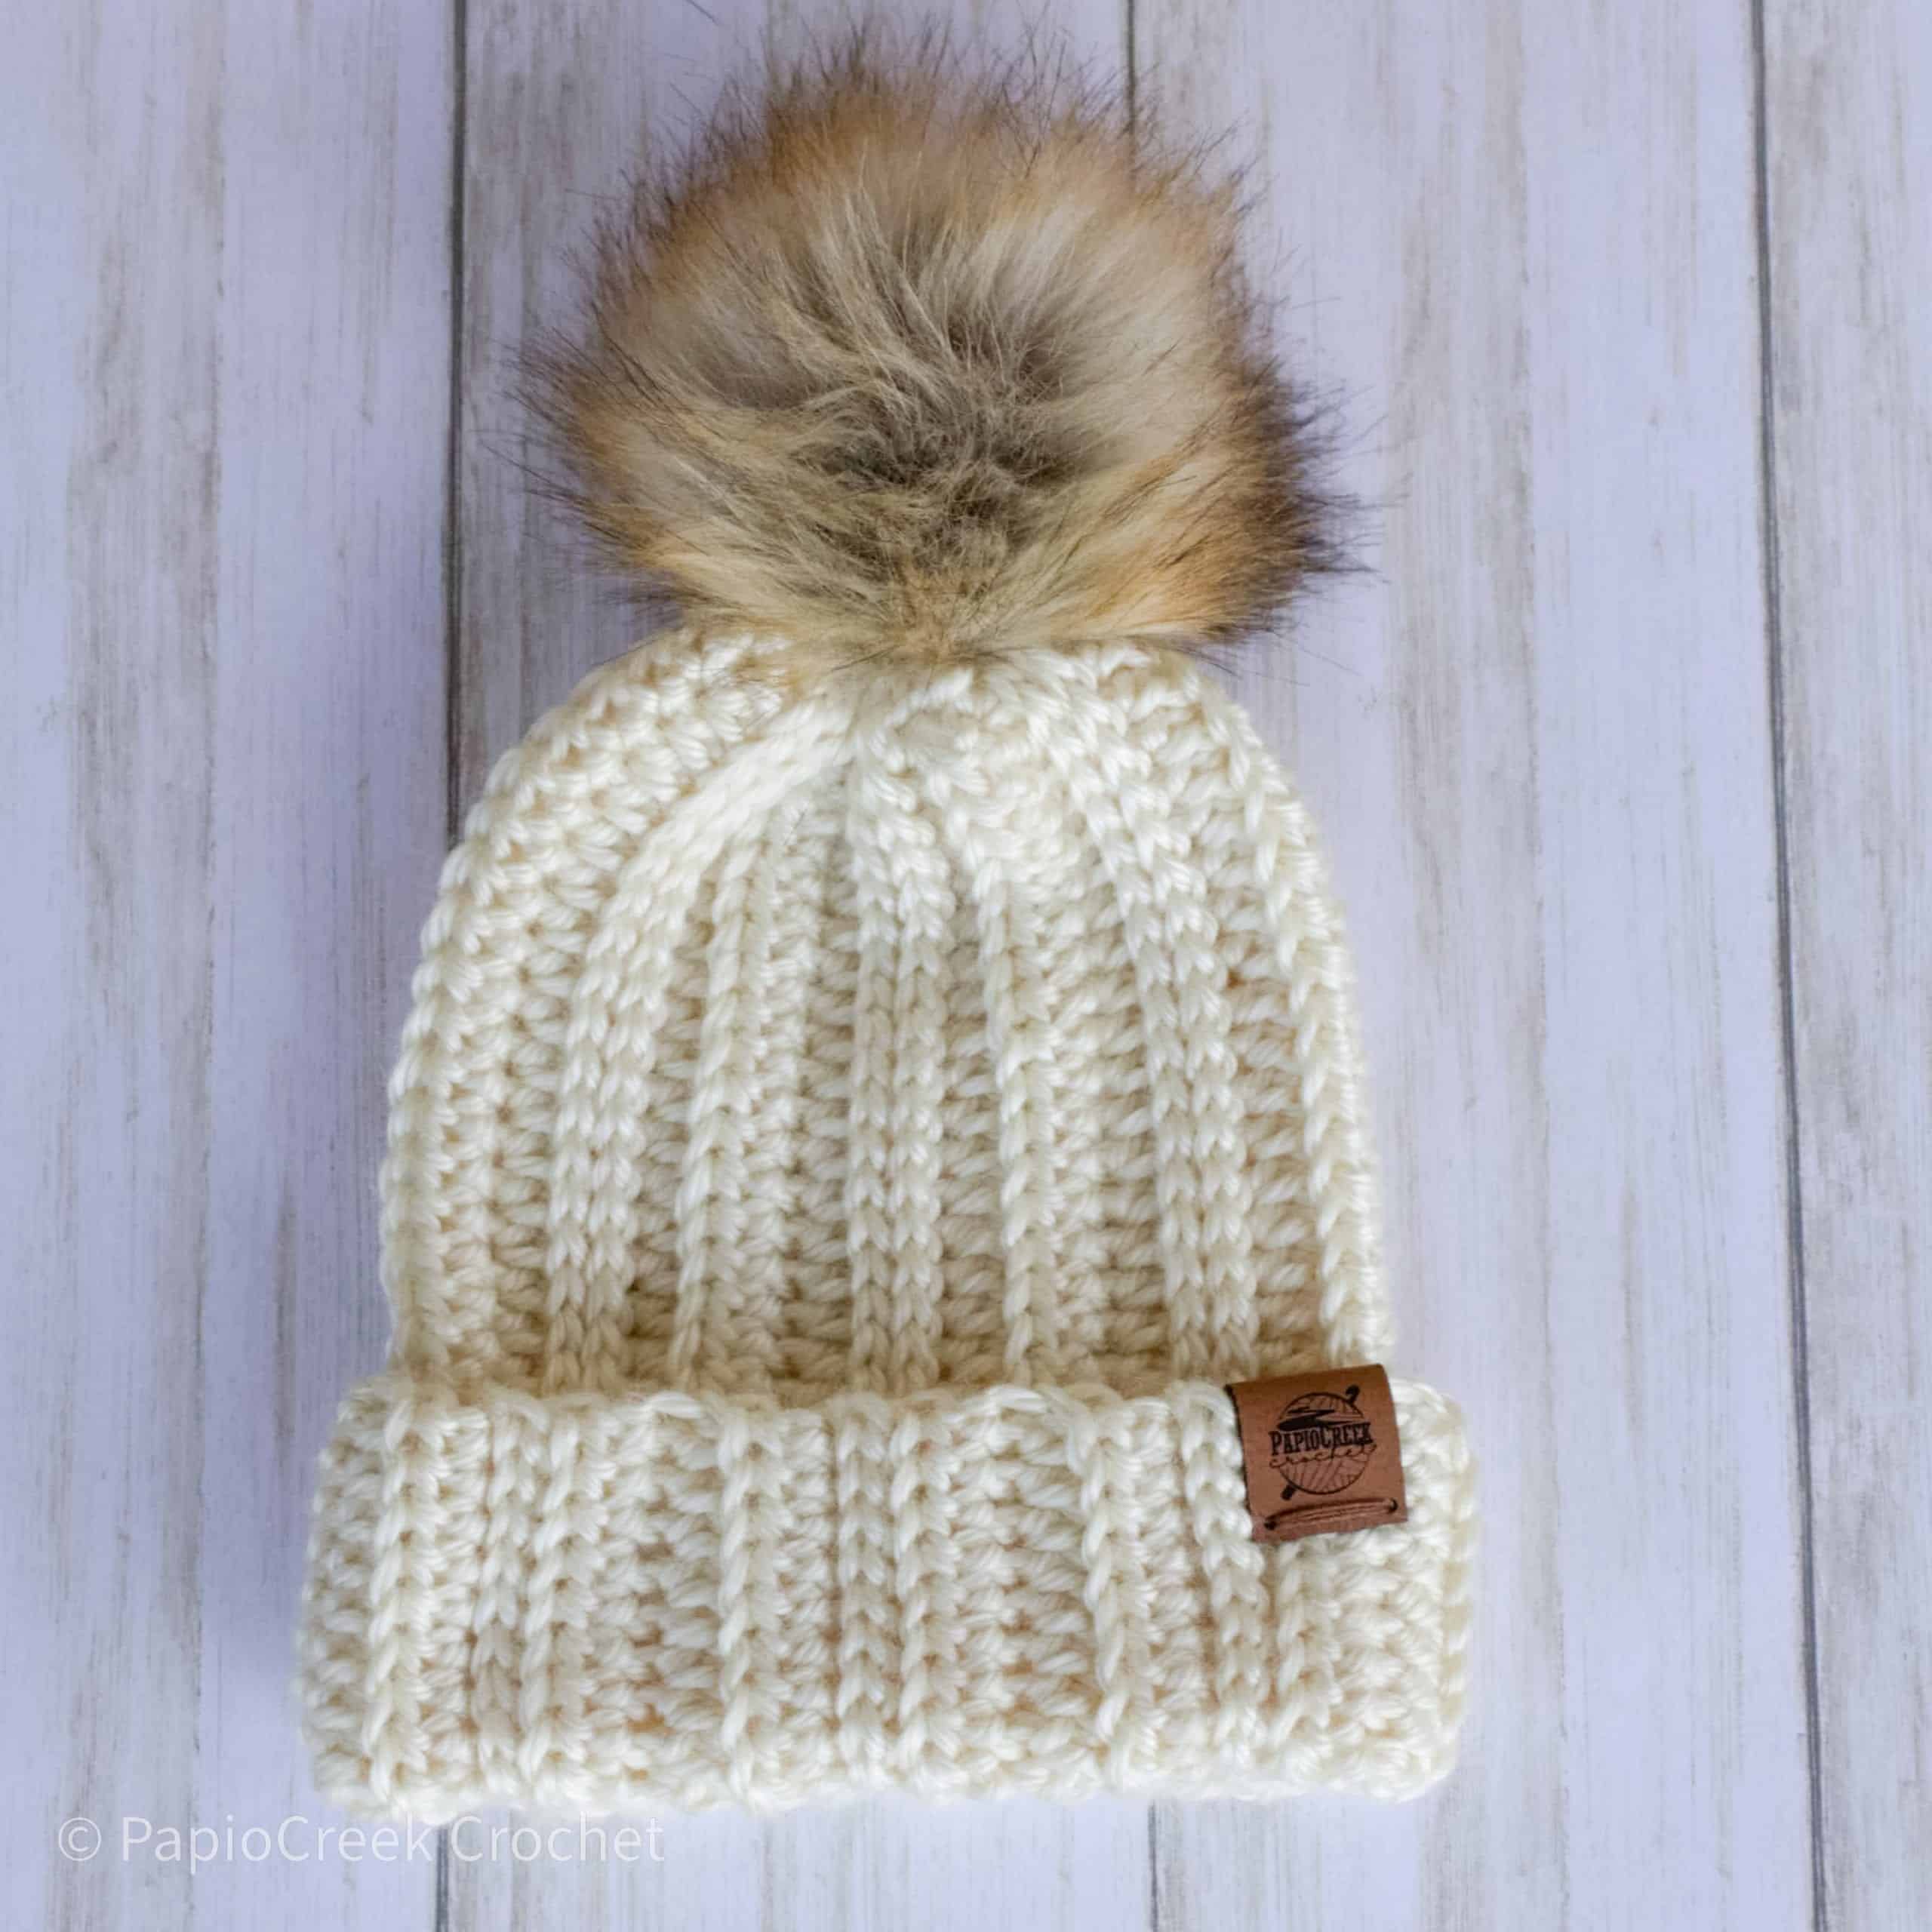
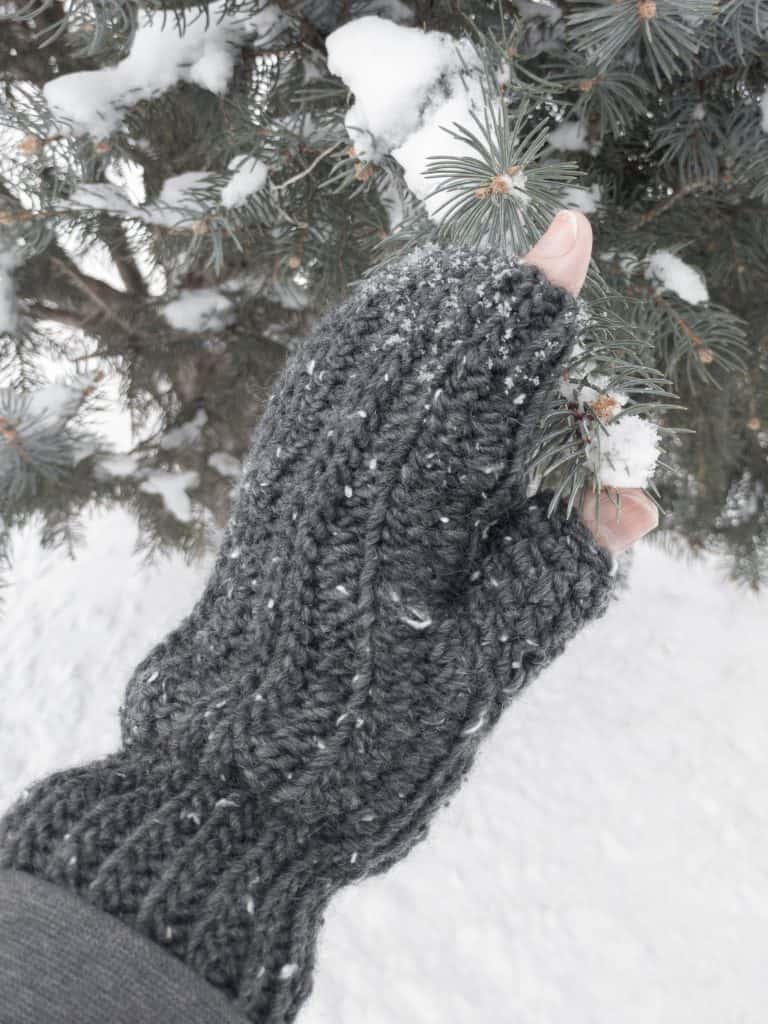
The PapioCreek Rib Stitch Fingerless Gloves are warm, cozy and slightly oversized. The first time I put them on felt like wearing my favorite, well worn, oversized winter sweater, but on my hands…hand sweaters! I have been wearing them constantly inside the house, driving, shopping and shoveling snow. They keep my hands and fingers toasty and warm.
The PapioCreek Fingerless Gloves give you options. The top by your fingers can be folded down. The wrist cuffs can be folded up. Or you can leave them long to give you the most coverage on those really cold days while still allowing you hassle free access to all your fingers.
This pattern is a One Size Fits Most pattern. Because it is an oversized fingerless glove pattern, it will fit most men with not adjustments needed.
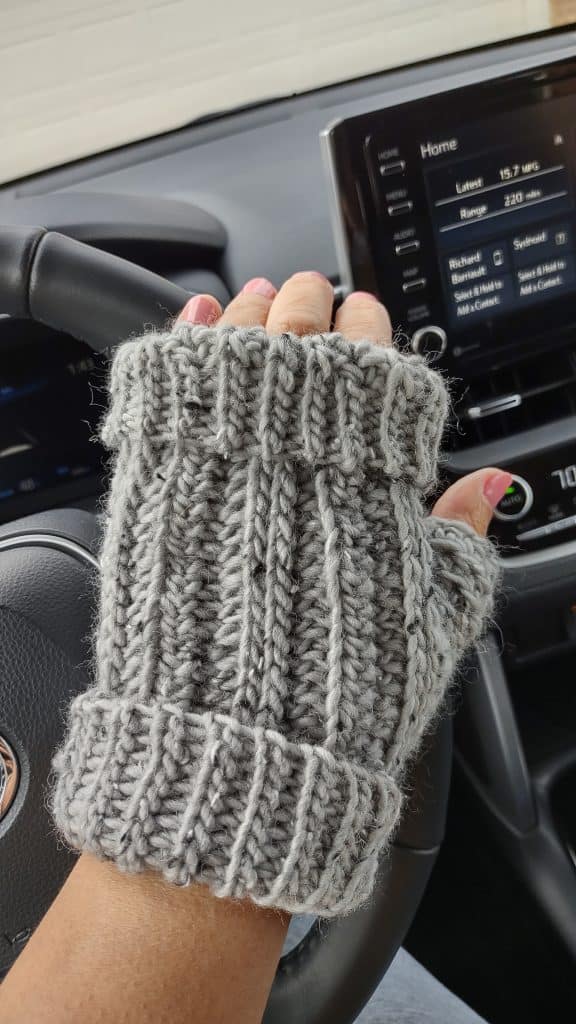
Look for the PDF of the PapioCreek Rib Stitch Fingerless Gloves Crochet Pattern on March 15, 2022 in my Ravelry and Etsy shops.
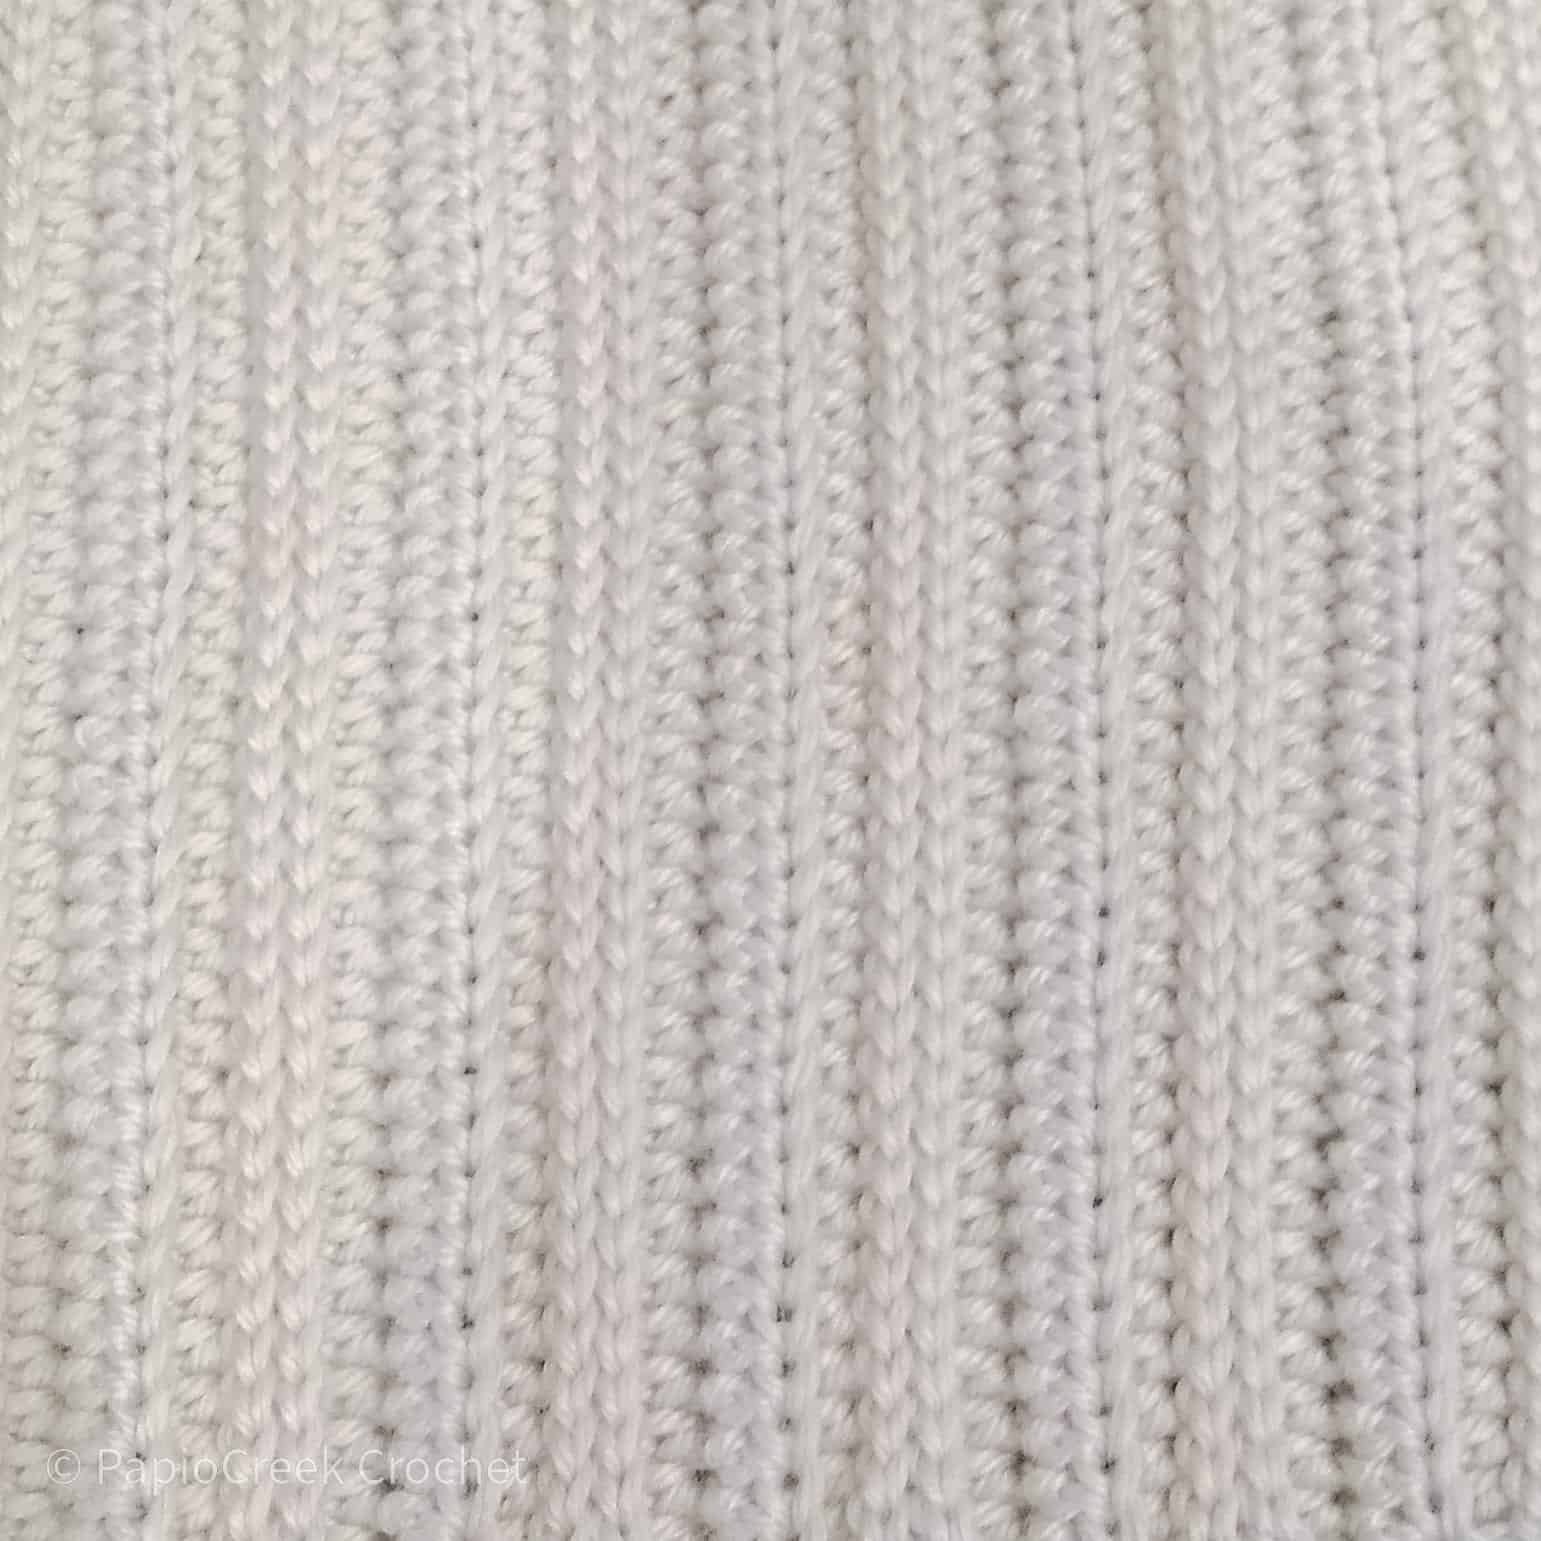
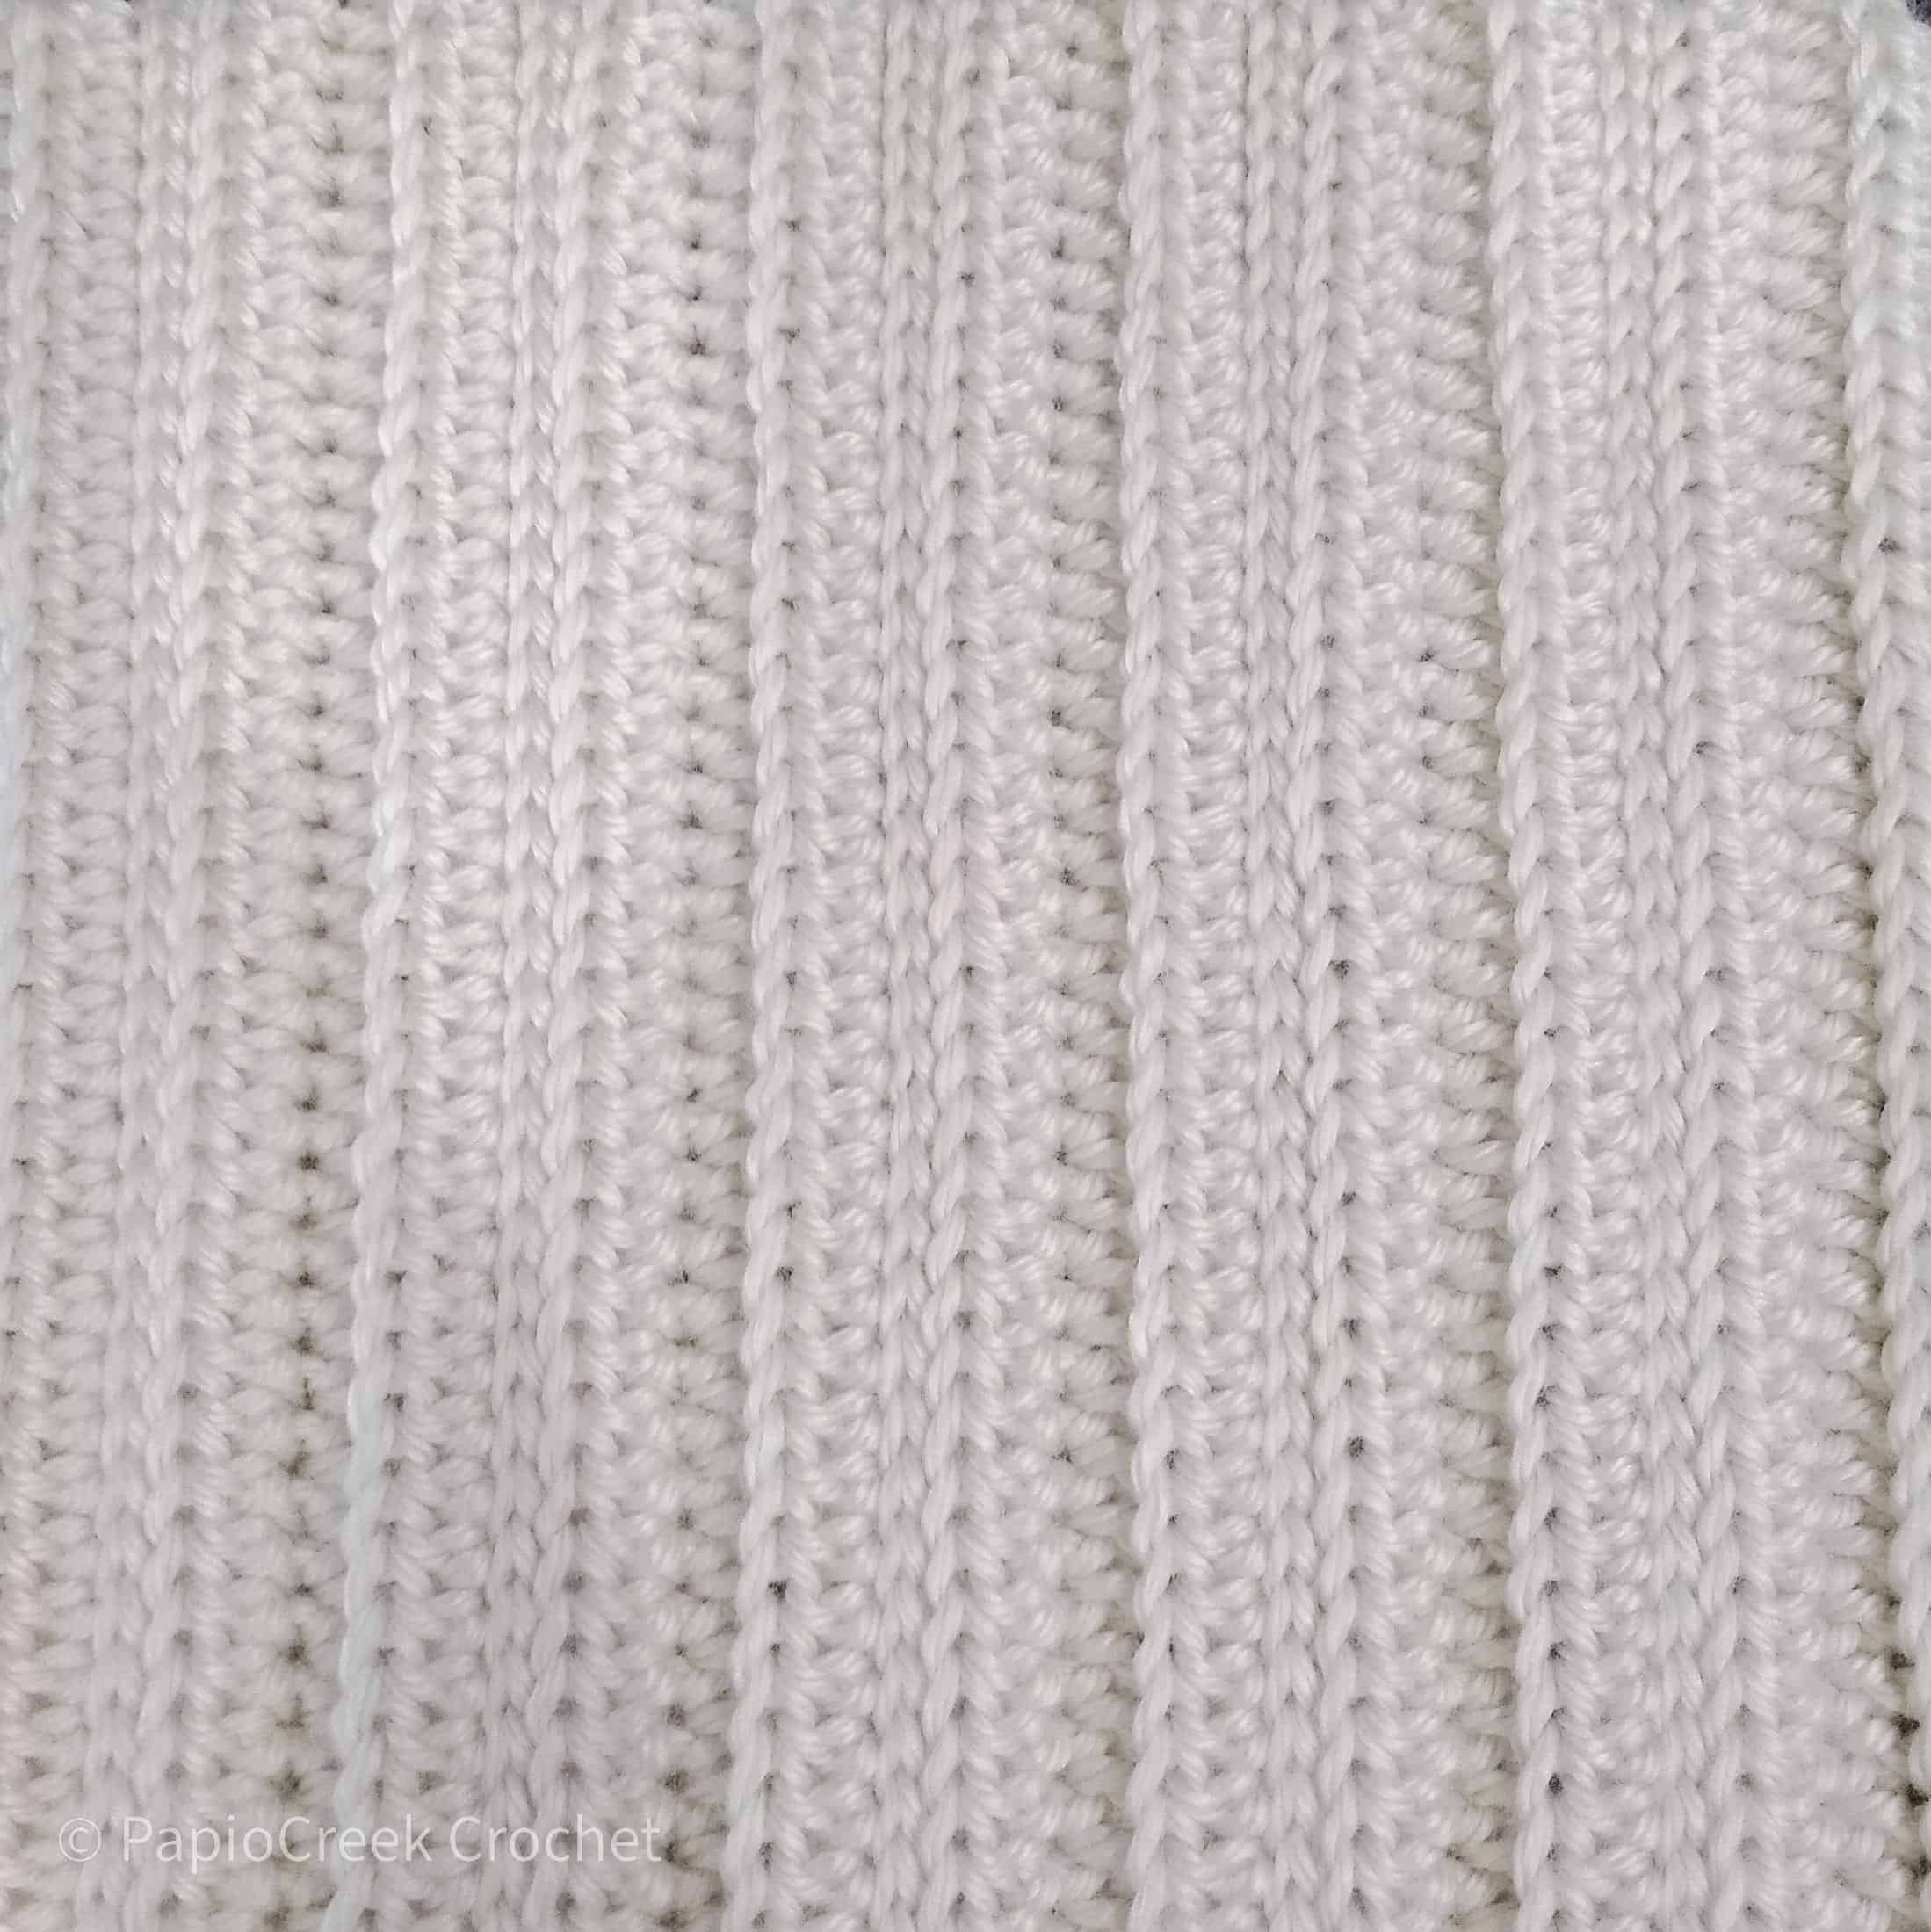
The PapioCreek Rib Stitch Fingerless Gloves Crochet Pattern uses a repeat of half double crochet in the back loop rows and slip stitch in the back loop rows to give you a fabric that is reversible as well as soft and stretchy with good recovery.
This pattern is crocheted flat, then seamed together with slip stitches. I use short rows to create the ribbed cuff and the ribbing at the fingers.
If this is your first time working slip stitches in the back loop only (SLST BLO), I encourage you to give it a chance. It can be fiddly at first but with practice it will get very easy and hopefully be a stitch you turn to for projects needing stretch AND recovery. I use it for most of my hat brims. It’s a great technique to have in your crochet stitch arsenal.
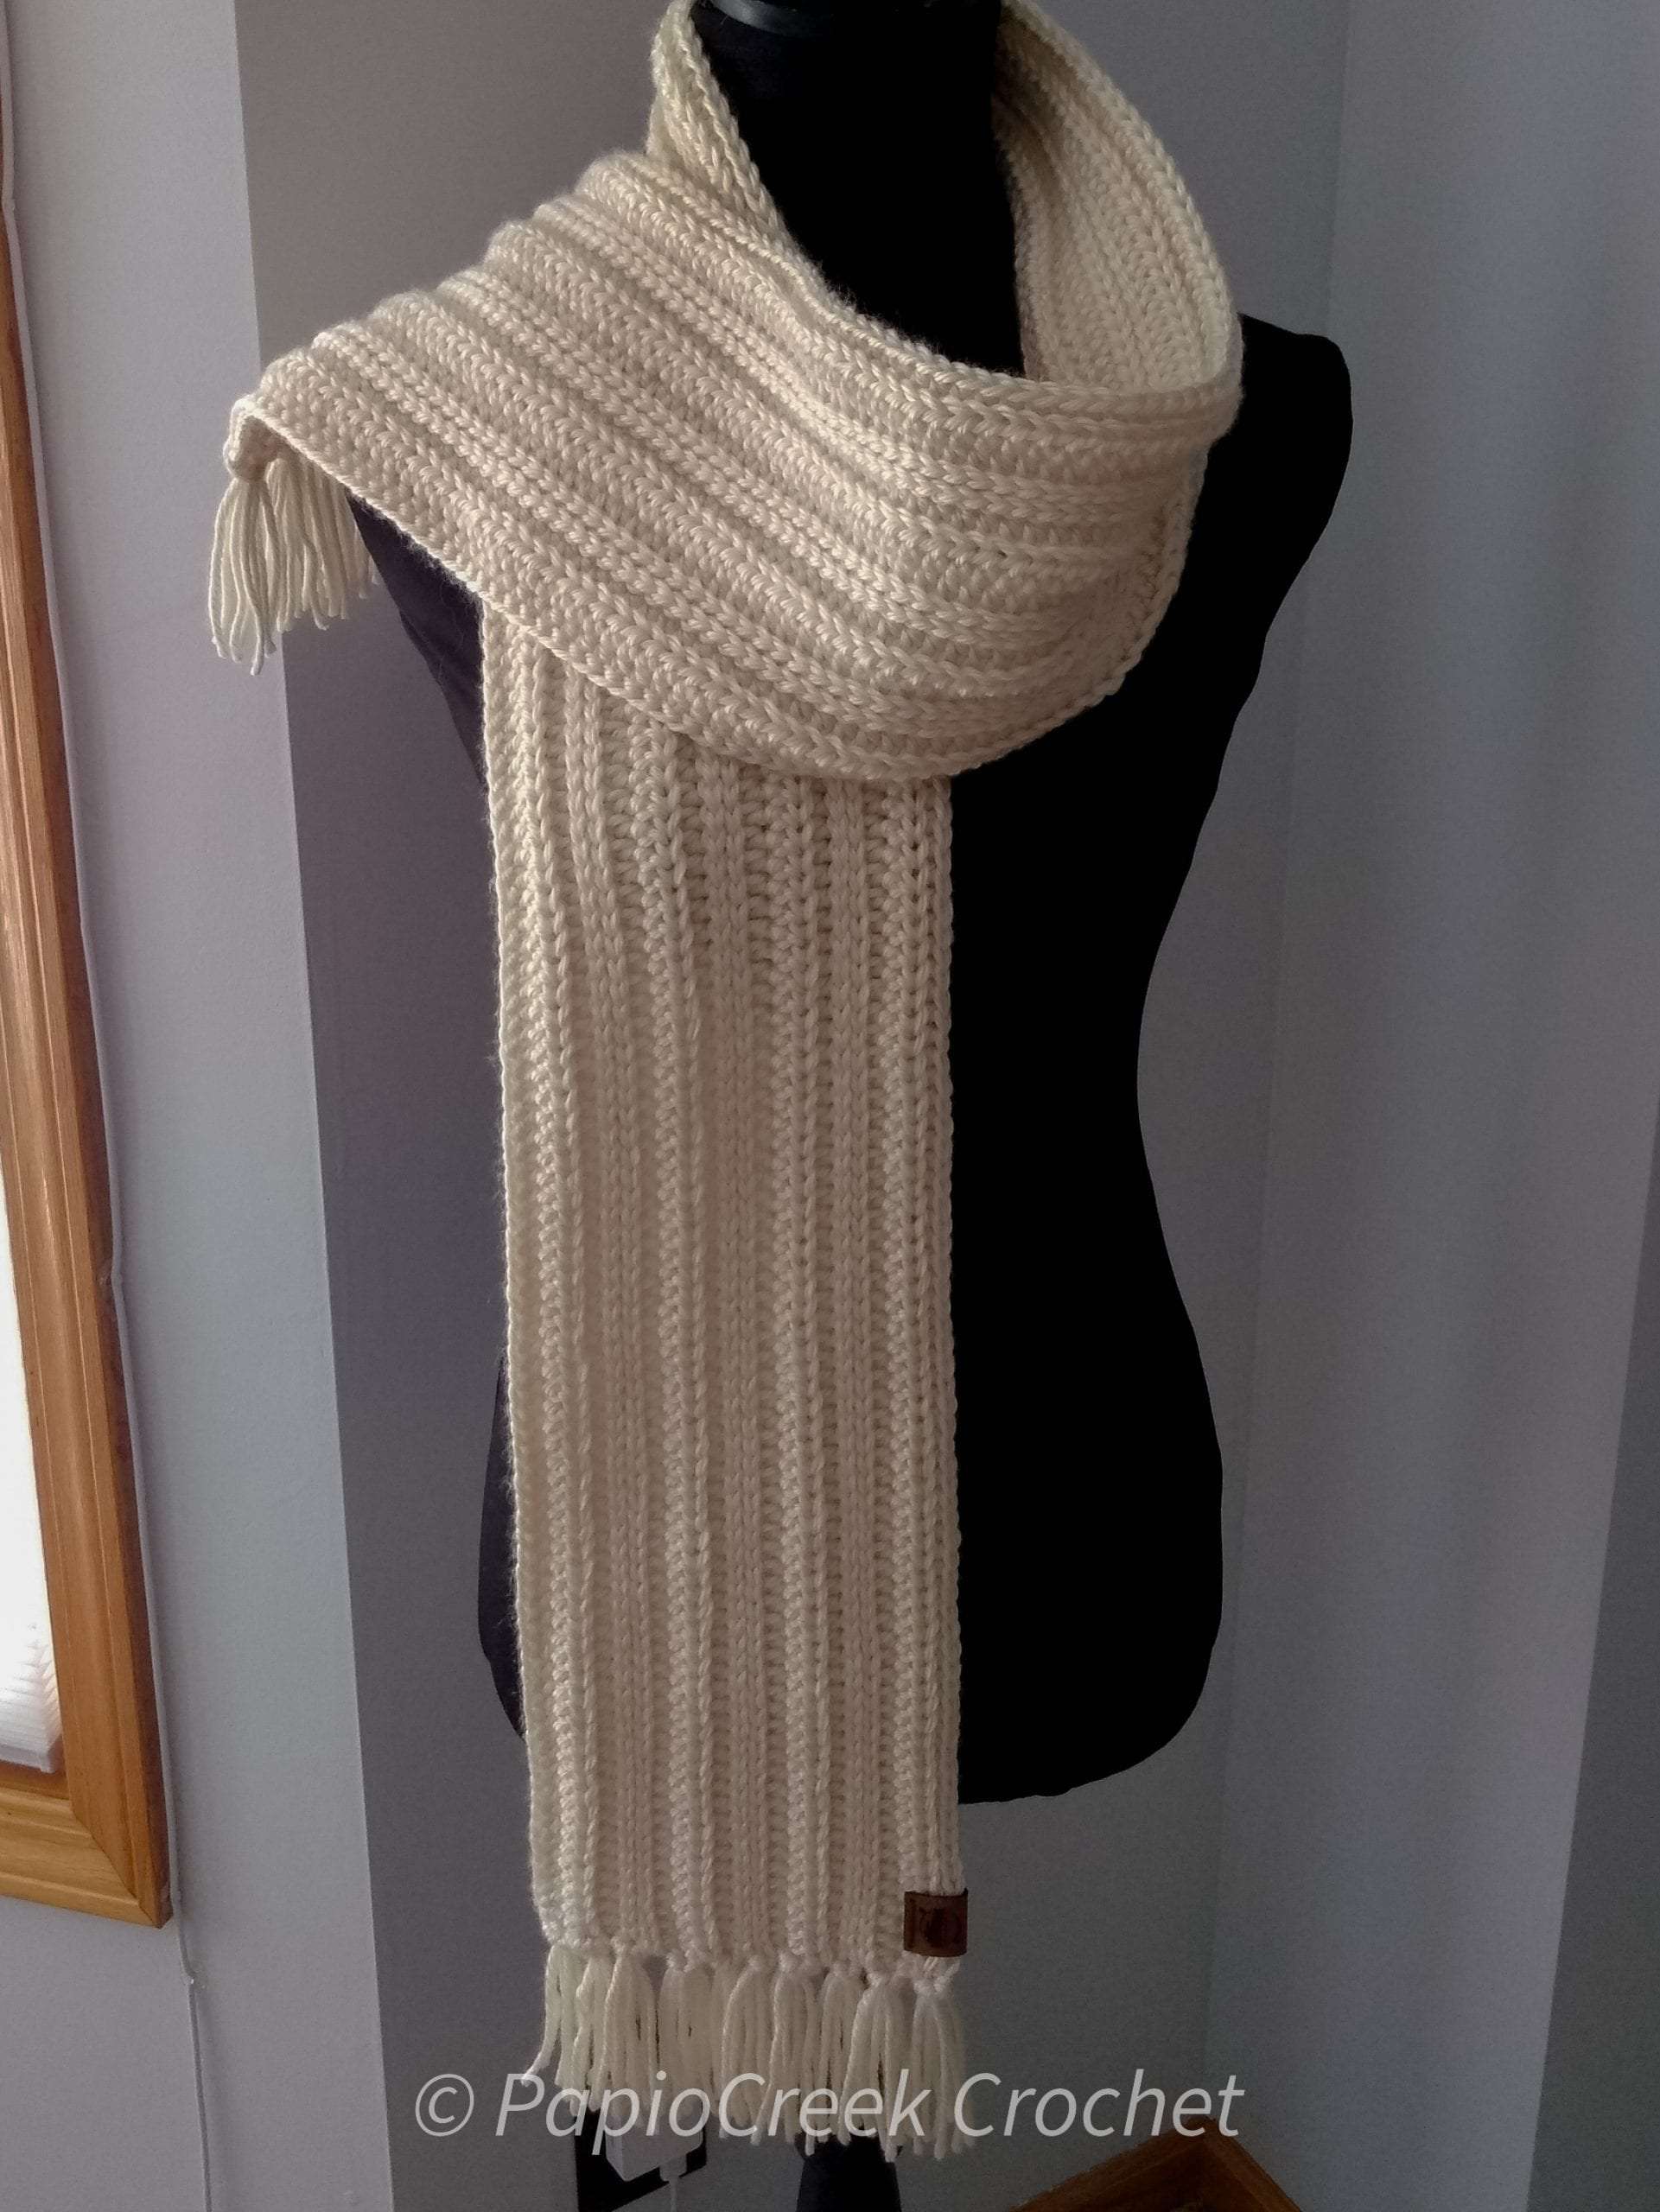
You can find the PapioCreek Rib Stitch Scarf pattern here on the website.
Tips for Slip Stitch Back Loop Only
Try to keep your tension loose.
Go up a hook size if you need to.
Consider trying it with an inline hook instead of a tapered one (or tapered instead of inline), if your current hook just isn’t working.
You want your yarn nice and loose. Pull several lengths of yarn from your skein so your yarn is nice a loose to work with. Pulling the yarn while crocheting the back loop only slip stitch can tighten up the stitch.
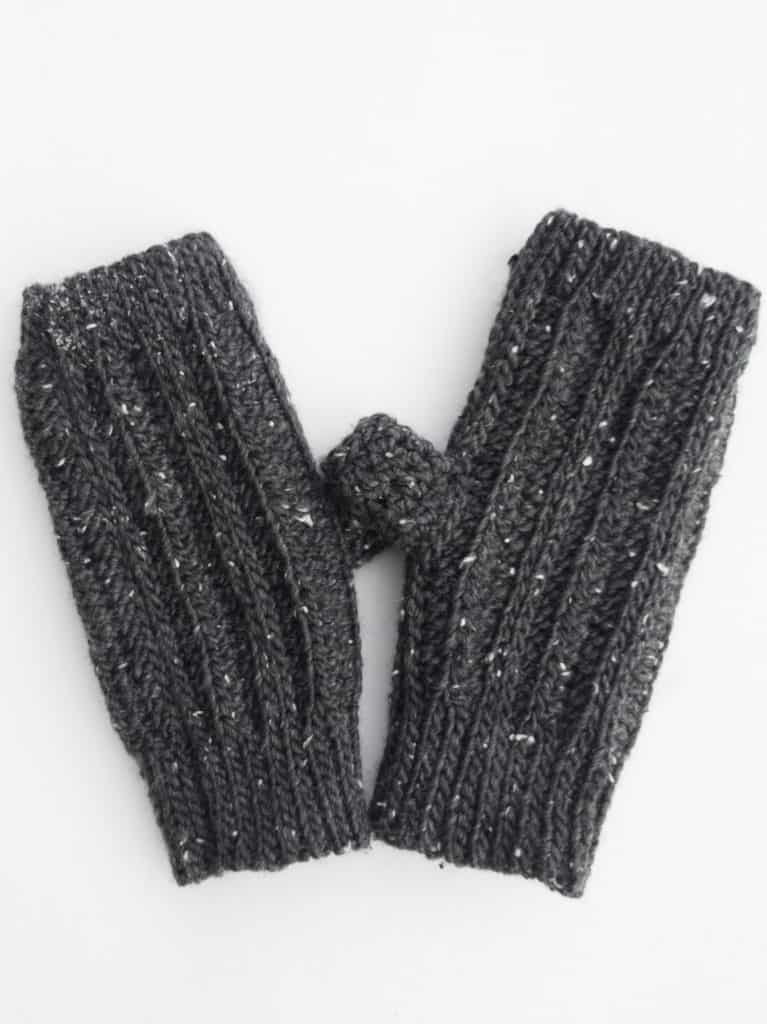
Finished Measurements
Approx. 9.5″ wrist cuff to finger end edge x 4.5″ across the hand (25cm x 10.5cm)
Materials Needed
Yarn- Bulky Weight #5 yarn 2.65 oz / 165 yd 75g / 150m . I used one and a half balls of Hobbii Tweed Delight.
US size J crochet hook (6.0mm)
Yarn needle
Scissors
Stitches
CH – Chain
SC-Single Crochet
FHDC – Foundation Half Double Crochet
HDC- Half Double Crochet
HDC BLO-Half Double Crochet Back Loop Only
SLST BLO -Slip Stitch Back Loop Only
SLST-Slip Stitch
ST(S) – Stitch(es)
SK- Skip
Notes
US terms
Fingerless Gloves are worked flat and turned at the end of each row.
Ch 1 at the end of each row DOES NOT count as a stitch.
There is no right side of the fabric. The gloves are reversible and look great with either side facing out.
I designed the PapioCreek Rib Stitch Fingerless Gloves to be roomy and extra long. The top (finger edge) and the cuff (wrist edge) can be folded down if desired. If you find that the gloves are too roomy, just remove a row or 2 of the HDC BLO on the last repeats.
All Stitches are made in the Back Loop of the stitches from the previous row.
PapioCreek Rib Stitch Fingerless Gloves Crochet Pattern
Make 2
CH 41 loosely
Row 1- SLST in 2nd CH from hook and in next 4 CH, HDC in next 25 CH, SLST in each of last 10 CH. CH 1 and turn work. (40 STs)
Row 2- SLST BLO into the 10 SLST from the previous row, CH 1, turn work, SLST BLO into the 10 SLST just made. CH 1 turn work.
Row 3- SLST BLO into the 10 SLST from the previous row, HDC BLO in next 25 HDC stitches, SLST BLO into the last 5 SLST. CH 1 turn work. (40 STs)
Row 4- SLST BLO into the 5 SLST from the previous row, CH 1, turn work, SLST BLO into the 5 SLST just made. CH 1 turn work.
Row 5- SLST BLO into the 5 SLST from the previous row, HDC BLO in next 25 HDC stitches, SLST BLO into the last 10 SLST. CH 1 turn work. (40 STs)
Row 6- SLST BLO in each ST across. CH 1, turn (40 ST)
Row 7- SLST BLO in each ST across. CH 1, turn (40 ST)
Row 8 – SLST BLO in each ST across. CH 1, turn (40 ST)
Row 9- SLST BLO into the 5 SLST from the previous row, CH 1, turn work, SLST BLO into the 5 SLST just made. CH 1 turn work.
Row 10- SLST BLO into the 5 SLST from the previous row, HDC BLO in next 25 HDC stitches, SLST BLO into the last 10 SLST. CH 1 turn work. (40 STs)
Row 11- SLST BLO into the 10 SLST from the previous row, CH 1, turn work, SLST BLO into the 10 SLST just made. CH 1 turn work.
Row 12- SLST BLO into the 10 SLST from the previous row, HDC BLO in next 25 HDC stitches, SLST BLO into the last 5 SLST. CH 1 turn work. (40 STs)
Row 13- SLST BLO into the 5 SLST from the previous row, CH 1, turn work, SLST BLO into the 5 SLST just made. CH 1 turn work.
Row 14- SLST BLO into the 5 SLST from the previous row, HDC BLO in next 25 HDC stitches, SLST BLO into the last 10 SLST. CH 1 turn work. (40 STs)
Row 15- SLST BLO in each ST across. CH 1, turn (40 ST)
Row 16- SLST BLO in each ST across. CH 1, turn (40 ST)
Row 17 – SLST BLO in each ST across. CH 1, turn (40 ST)
Row 18- SLST BLO into the 5 SLST from the previous row, CH 1, turn work, SLST BLO into the 5 SLST just made. CH 1 turn work.
Row 19-SLST BLO into the 5 SLST from the previous row, HDC BLO in next 25 HDC stitches, SLST BLO into the last 10 SLST. CH 1 turn work. (40 STs)
Row 20- SLST BLO into the 10 SLST from the previous row, CH 1, turn work, SLST BLO into the 10 SLST just made. CH 1 turn work.
Row 21-SLST BLO into the 10 SLST from the previous row, HDC BLO in next 25 HDC stitches, SLST BLO into the last 5 SLST. CH 1 turn work. (40 STs)
Row 22- SLST BLO into the 5 SLST from the previous row, CH 1, turn work, SLST BLO into the 5 SLST just made. CH 1 turn work.
Row 23- SLST BLO into the 5 SLST from the previous row,HDC BLO in next 25 HDC stitches, SLST BLO into the last 10 SLST. CH 1 turn work. (40 STs)
Row 24- SLST BLO in each ST across. CH 1, turn (40 ST)
Row 25- SLST BLO into the 10 SLST from the previous row, CH 1, turn work, SLST BLO into the 10 SLST just made. CH 1 turn work. *SEE PHOTOS
Row 26- SLST BLO in each of the next 16 STs, SLST through both loops of the next ST, loosely CH 5, SK 5 STs, SLST through both loops of next ST, SLST BLO in each of the next 17 STs. CH 1, turn work. (40 STs)
Row 27- SLST BLO in each ST and CH across. CH 1, turn (40 ST)
Row 28- SLST BLO into the 5 SLST from the previous row, CH 1, turn work, SLST BLO into the 5 SLST just made. CH 1 turn work.
Row 29- SLST BLO into the 5 SLST from the previous row, HDC BLO in next 25 HDC stitches, SLST BLO into the last 10 SLST. CH 1 turn work. (40 STs)
Row 30- SLST BLO into the 10 SLST from the previous row, CH 1, turn work, SLST BLO into the 10 SLST just made. CH 1 turn work.
Row 31- SLST BLO into the 10 SLST from the previous row, HDC BLO in next 25 HDC stitches, SLST BLO into the last 5 SLST. CH 1 turn work. (40 STs)
Row 32- SLST BLO into the 5 SLST from the previous row, CH 1, turn work, SLST BLO into the 5 SLST just made. CH 1 turn work.
Row 33- SLST BLO into the 5 SLST from the previous row, HDC BLO in next 25 HDC stitches, SLST BLO into the last 10 SLST. CH 1 turn work. (40 STs)
Row 34- SLST BLO in each ST across. CH 1, turn (40 ST)
Row 35- SLST BLO in each ST across. CH 1, turn (40 ST)
Row 36 – SLST BLO in each ST across. CH 1, turn (40 ST)
Row 37- SLST BLO into the 5 SLST from the previous row, CH 1, turn work, SLST BLO into the 5 SLST just made. CH 1 turn work.
Row 38- SLST BLO into the 5 SLST from the previous row, HDC BLO in next 25 HDC stitches, SLST BLO into the last 10 SLST. CH 1 turn work. (40 STs)
Row 39- SLST BLO into the 10 SLST from the previous row, CH 1, turn work, SLST BLO into the 10 SLST just made. CH 1 turn work.
Row 40- SLST BLO into the 10 SLST from the previous row, HDC BLO in next 25 HDC stitches, SLST BLO into the last 5 SLST. CH 1 turn work. (40 STs)
Row 41- SLST BLO into the 5 SLST from the previous row, CH 1, turn work, SLST BLO into the 5 SLST just made. CH 1 turn work.
Row 42- SLST BLO into the 5 SLST from the previous row, HDC BLO in next 25 HDC stitches, SLST BLO into the last 10 SLST. CH 1 turn work. (40 STs)
Row 43- SLST BLO in each ST across. CH 1, turn (40 ST)
Row 44- SLST BLO in each ST across. CH 1, turn (40 ST)
Row 44- With your right sides together (whichever side of the fabric you like better), line up your last row with the first row. SLST through the front loop of the last row and into each CH from the first row (40 STs). Fasten off yarn and weave in ends. Turn glove right side out.
Thumb Instructions for both fingerless gloves
Round 1- Attach yarn with a SLST in any ST, CH 1, SC into same ST. Evenly space 9 more SC around the thumb hole. Do not join. (10 SC)
Rounds 2-5 HDC each ST around. Do not join at the end of each round. (10 Sts each round)
Round 6- SLST loosely into each ST around. Join with SLST. Fasten off yarn and weave in ends.
I hope you enjoy these fingerless gloves as much as I do! I love seeing your makes on social media, so feel free to tag @papiocreekcrochet or #Papiocreekfigerlessgloves
Also in the PapioCreek Rib Stitch Collection
