I recently had a customer wanting a set of 3 scarves for gifting. I needed something quick to make so I could have the scarves done before Christmas. I also needed a scarf that looked great and would be a suitable gift for men and women. And so the PapioCreek Rib Stitch Scarf free crochet pattern was born.
If you would like to purchase an Ad Free .PDF of the PapioCreek Rib Stitch Scarf, if can be found on Ravelry and on Etsy.
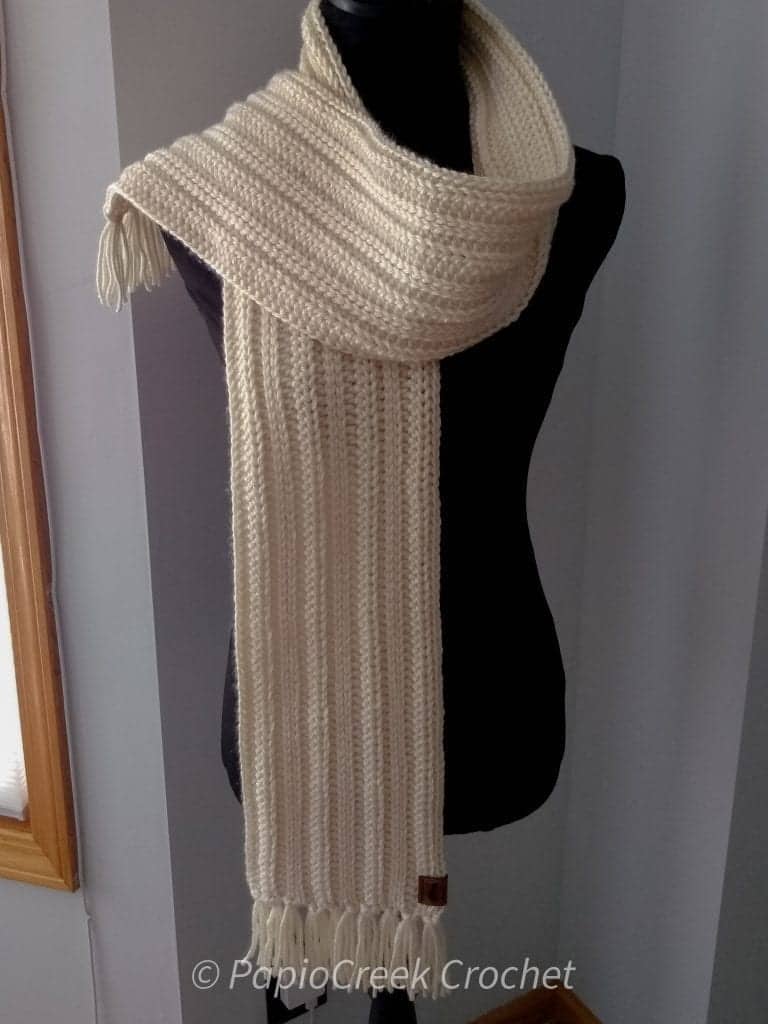
I love the textured stripes in my PapioCreek Rib Stitch Beanie and my PapioCreek Rib Stitch Neck Warmer. And the best part!?!? Thinner textured stripes on one side of the fabric and thicker textured stripes on the other side of the fabric, making a reversible fabric!
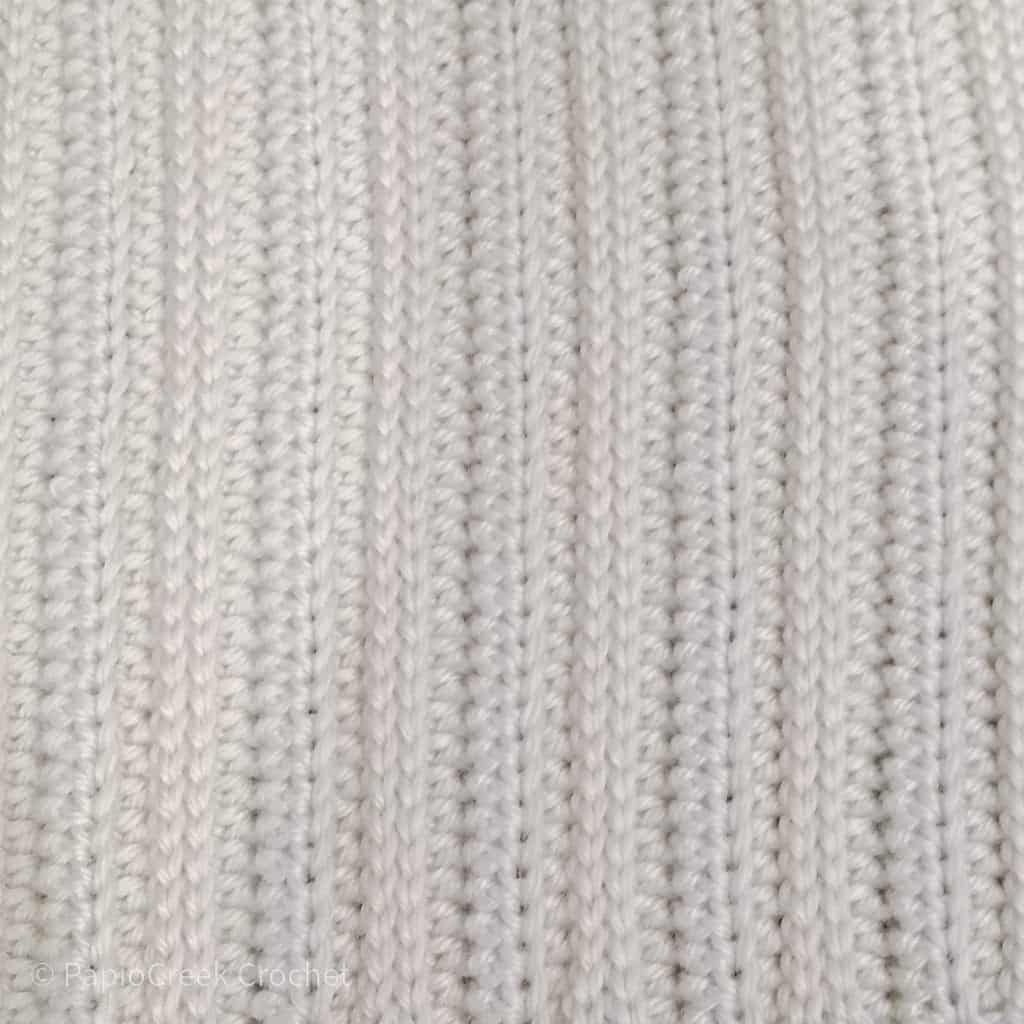
Side A Thinner Textured Stripes 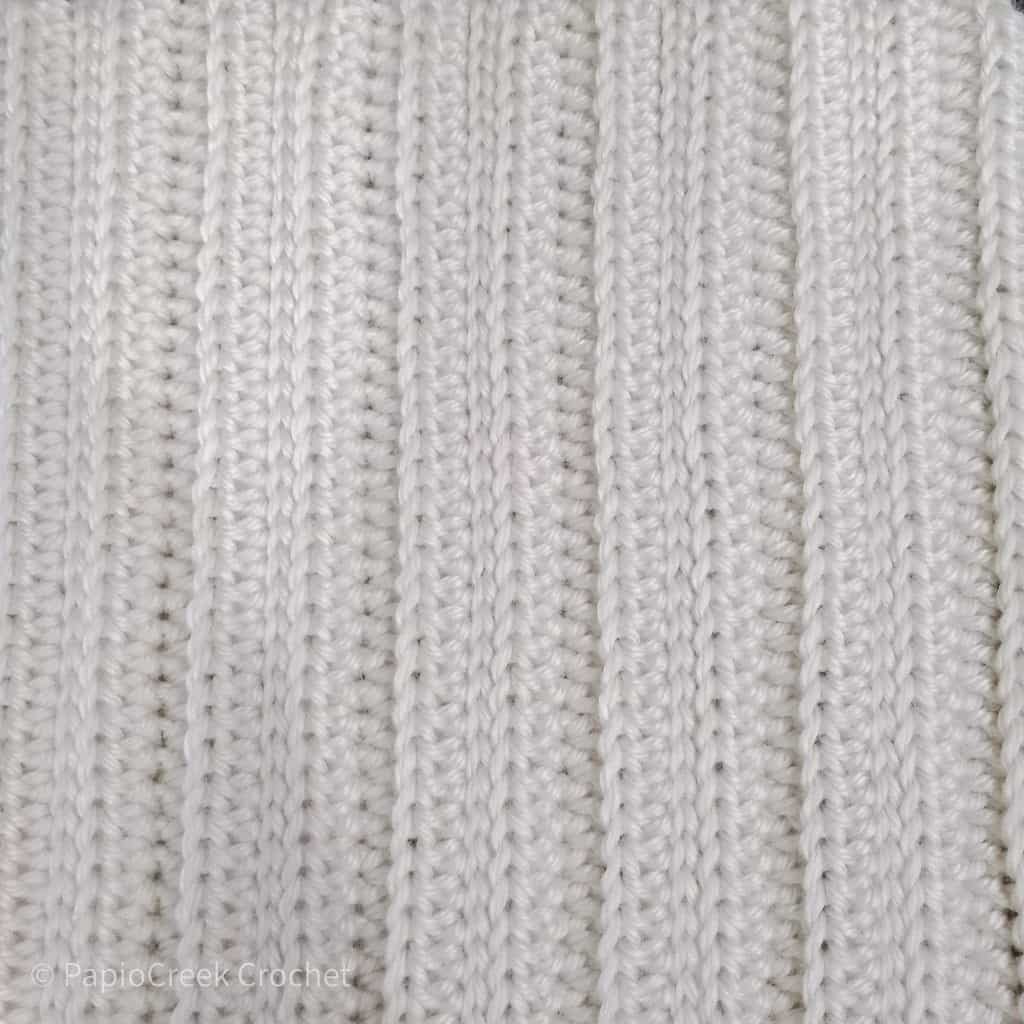
Side B Thicker Textured Stripes
For the PapioCreek Rib Stitch Scarf you will need:
Yarn- 12oz/313yd or 340g/285m of a bulky weight yarn (#5). I used Red Heart Soft Essentials
You could use a different bulky weight yarn or even use a different weight yarn all together, but you may need more or less yarn depending on what you choose to use.
Hook– US size L crochet hook (8.0 mm)
If using a different weight yarn, use the hook size recommended on the yarn label, just know that you may need to adjust the number of stitches in the foundation row and may need to adjust the number of rows you complete.
Extras-yarn needle, scissors and measuring tape (optional).
Stitches used in this pattern
CH– Chain
FHDC- Foundation Half Double Crochet
HDC BLO- Half Double Crochet Back Loop Only
SLST BLO- Slip Stitch Back Loop Only
ST(S) – Stitch(es)
Finished Size of the PapioCreek Rib Stitch Scarf
Approximately 6.5″ wide x 60″ long
Other things you need to know before you get making
This Pattern is written in US Terms.
The scarf is worked flat and turned at the end of each row.
CH 1 at the end of each row DOES NOT count as a stitch.
The PapioCreek Rib Stitch Scarf can be make with any weight yarn, just use the recommended hook for the yarn you choose.
If you are wanting a different size scarf or are using a different weight yarn and different size hook, you will need to add/take away stitches from the foundation row and may need to increase/decrease the amount of rows you do.
Let’s get making!
Row 1- FHDC 200. CH 1, Turn.
Row 2- HDC BLO in each FHDC stitch across. CH 1, Turn. (200 STs)
Row 3- HDC BLO in each ST across. CH 1, Turn. (200 STs)
Row 4- SLST BLO in each ST across. CH 1, Turn. (200 STs)
Row 5- SLST BLO in each ST across. CH 1, Turn. (200 STs)
Row 6- SLST BLO in each ST across. CH 1, Turn. (200 STs)
Row 7- HDC BLO in each ST across. CH 1, Turn. (200 STs)
Row 8- HDC BLO in each ST across. CH 1, Turn. (200 STs)
Row 9- HDC BLO in each ST across. CH 1, Turn. (200 STs)
Rows 10-21- Repeat Rows 4-9 two more times.
For the Fringe
Cut four 10 inch lengths of yarn. Fold in half
and use your hook to attach to the short edge of your scarf. Do this 10 times one each short edge.
And you’re done!
I love seeing your makes! Be sure to tag #papiocreekcrochet or #papiocreekribstitchscarf so that I can admire your beautiful makes!
Also in the PapioCreek Rib Stitch Collection
You can find the PapioCreek Rib Stitch Neck Warmer Pattern on Ravelry and Esty.
You can find the PapioCreek Rib Stitch Beanie Pattern in 6 Sizes on Ravelry and Etsy.
You can also check out my Ashland Beanie and Ashland Neck Warmer, both Patterns free on the website.


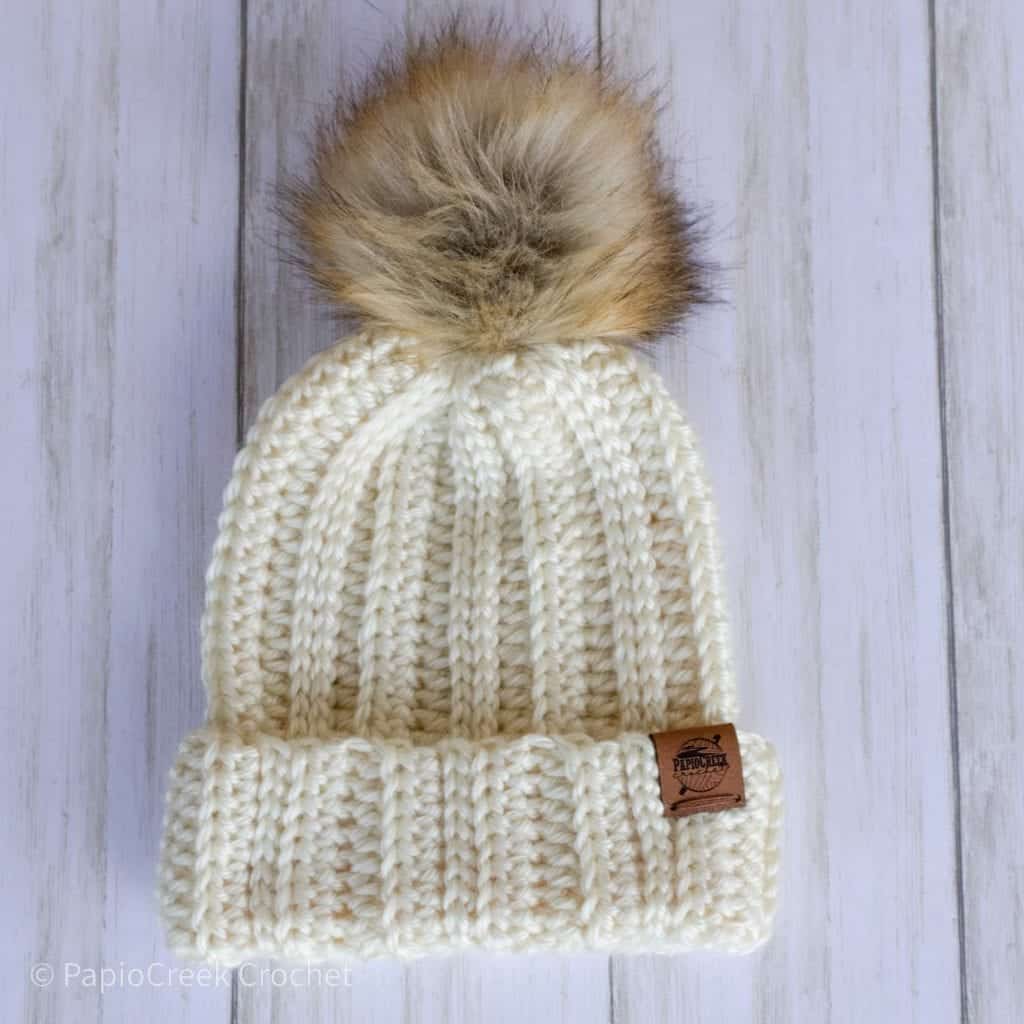
Just finished making this scarf with Lions Brand Heartland yarn. It was easy, fun and quick to crochet. Love the way it looks. Made it for my brother in law who lives in Chicago. I live in Florida, otherwise I would make one for myself. Heading to Ravelry now so I can get and make the beanie. Suggestions what to do if someone doesn’t like pompoms on their hats?
So glad you like the pattern! With the beanie, if the person receiving it doesn’t do poms, just don’t add one. I sell a lot of the PapioCreek Rib Stitch Beanies at local craft shows and remove them for folks that don’t want them. They look great either way. Happy Making! -Elspeth